#BBB Get Fancy with Decorative Scoring
Posted by admin on
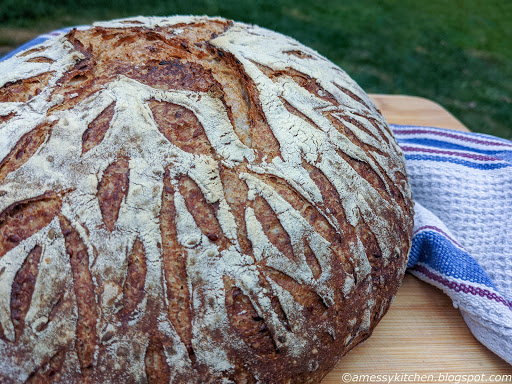
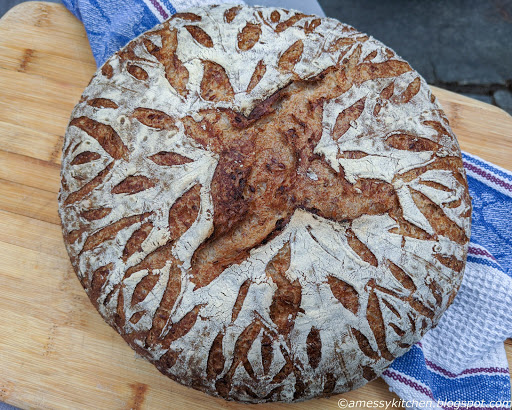
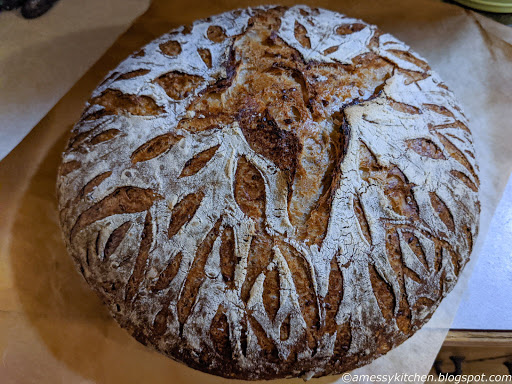
This month, our Bread Baking Bakes is being flexible with the recipe you choose because the point of our challenge this time was to try out some decorative scoring with our loaves! It's not as difficult as it looks, but perhaps more difficult than you might think. For my next attempt I will do more planning on the pattern, and change the handle on my lame. That, or just hold the blade with my fingers. I got a brand new lame, but the giant nut that holds the blade on kept on marring my dough because there was only about ¼" of exposed blade. I would prefer at least twice that. So we will try again! My hydration was probably a few percentage points lower this time than the last time I made this loaf, which is why I think I had a little tearing on the top score. I don't mind how it looks though, and that's a matter of personal preference.
The dough that works well for scoring is a high hydration loaf that is proofed in the refrigerator. Mine was high hydration but I didn't cold proof it, though I did use a lined banneton to help give a stronger crust to the skin of the loaf. My tips for better results than I got would be to draw out your pattern first and to flour the loaf more than you think you should, especially the edges. I did use a piece of string to mark out quadrants on my loaf, but was still freestyling a little with my slashing and lost my place once and put a slash in the wrong place. You can't undo that. Oops. I also had edges that did not have as much flour, and those were terrible about catching on my blade, despite it being brand new and razor sharp. I really appreciated the site Bread Journey, for great tips and videos about decorative scoring.
 |
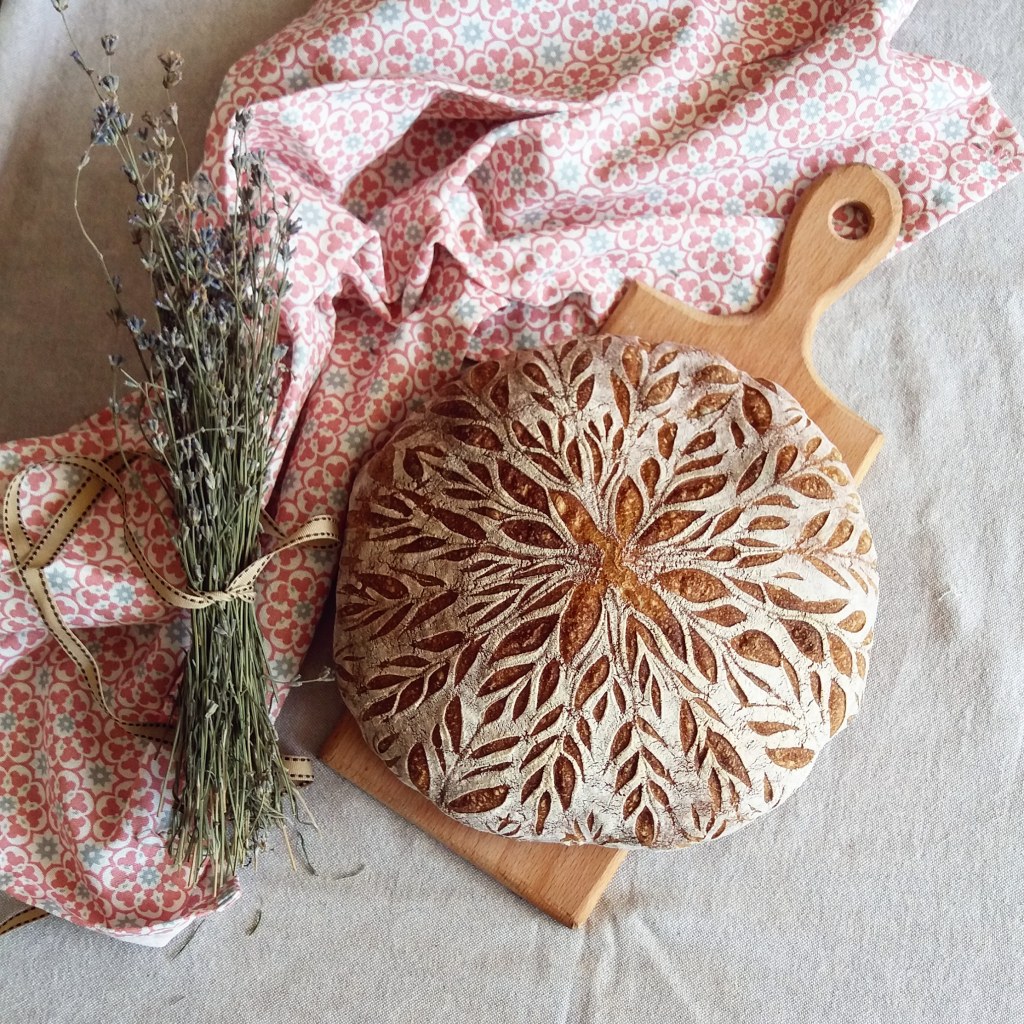
| A beautiful loaf by Bread Journey |
I used my recipe for Golden Flax and Spelt Sourdough, which is a fantastic loaf of flavor. I took it to my folks and we demolished it. The flax gives it a brilliant nutty flavor, as well as does the fresh ground spelt, so much so that my mom asked if there was rye in it. It's a recipe I recommend highly for flavor, despite the sticky nature of the dough.
Place the parchment over the dough and invert the bowl to release. (I inverted onto a pizza peel and parchment.) Dust the dough liberally with flour and rub the surface gently to coat. (This is the point where you can do some decorative scoring, or follow the more simple instructions for the original loaf.) Poke your finger down into the center of the dough, going about three-quarters of the way through. Then make eight 3-inch (8-cm) cuts around the dough using the tip of a razor blade or knife. Use the parchment to transfer the dough into the baking pot. Or use a baking sheet or pizza peel to slide the loaf onto the baking stone and then cover with the roaster.

This loaf is best enjoyed on the same day it is baked. Store at room temperature for 1 to 2 days in a plastic bag.
The rest of the Bread Baking Babes
- Blog from OUR Kitchen – Elizabeth
- Judy’s Gross Eats – Judy
- My Diverse Kitchen - Aparna
- Bread Experience - Cathy
- Thyme for Cooking - Katie
- My Kitchen in Half Cups - Tanna
- Feeding My Enthusiasms - Elle
- Karen's Kitchen Stories - Karen


