

French Bread
Posted by admin on
Nothing beats the smell of fresh baked bread. When I get bored I start baking and over the last few months I’ve been experimenting with breads. I’ve killed my fair share of yeast, but I’ve learned a few tricks that I hope will help in your bread making. Classic French bread has a beautiful golden and crisp crust and soft and airy middle that is simply delicious. I hope you love this bread as much as my family and I do!

Ingredients:
- 2 1/4 Cups Warm Water
- 2 Tablespoons Sugar (I use granulated or cane)
- 1 Tablespoon of Instant Yeast (I’ll give you a tip for active yeast if you want to use that)(this is about 1 1/2 packets of yeast)
- 2 1/2 Teaspoons Salt
- 2 Tablespoons Olive Oil (or some other kind of neutral tasting oil)
- 3 Cups Bread Flour
- 3 Cups All Purpose Flour
- You can use all bread flour or all purpose flour but I found the combination of half and half provides the best texture and crust.
Directions:
In a large bowl or stand mixer fitted with a dough hook, add the 2 1/4 cups warm water 2 tablespoons sugar and 1 tablespoon of yeast and set aside.
- A tip for water: Water that is too cold won’t activate the yeast and water that’s too hot will kill it. I’ve found that letting the tap run hot for a minute until it’s as hot as it can get and then filling the measuring cups up works best. The water should be somewhere between 110 and 115 degrees F.
- A tip for dry active yeast vs. instant yeast: If you are using instant yeast there’s no need to proof (activate it) which is why I choose to use it. If you are using active dry yeast, you’ll want to add the warm water and sugar to a bowl. Give it a quick stir to dissolve the sugar then sprinkle in the yeast over the top. Let it sit for about 5 minutes. At the end of 5 minutes the mixture in the bowl should be foamy and ready to go.
- A tip for salt: Salt kills yeast! So don’t add it too soon! I like to mix mine in with the flour and then add it to the liquid.
In a separate bowl mix 3 cups of bread flour with 2 1/2 teaspoons of salt. Salt kills the yeast which is why we’ll mix it into the flour. I like bread flour because it has a higher gluten content and makes the dough a little stickier. All purpose flour works too if you choose to use it. Add this flour and salt mixture to the water-yeast mixture along with 2 tablespoons of oil. Turn on stand mixer to low (or use fingers to stir to combine). Gradually add in the remaining 3 cups of flour about a cup at a time. The dough should come together in the bowl and pull away from the sides (not much residue should be left in the bowl). Dough will be sticky but shouldn’t stick to your fingers or sides of the bowl. This kneading process should take a few minutes. Continue kneading the dough until it is smooth (no lumps) and stretchy. In a stand mixer this should take about 5 minutes total. If you are doing it by hand, it will take a bit longer (closer to 8-10 minutes).
- Also, if you are doing this by hand, I recommend after having added all the ingredients and mixing for a short time in the bowl to dump out onto the counter and kneading by hand.
Add 1 tablespoon of oil to a large bowl and evenly coat the bottom and sides. Place dough ball into greased bowl. Cover with plastic wrap or towel. Set in a warm place and allow it to rise until doubled in size. For me, this takes 45 minutes to an hour.
Lightly oil a surface such as a silicone pastry mat (my personal preference plus there are measurements printed on it) or counter covered in plastic wrap. Cut dough in half. Flatten one half of the dough into a 9×13″ rectangle that is roughly even in thickness. 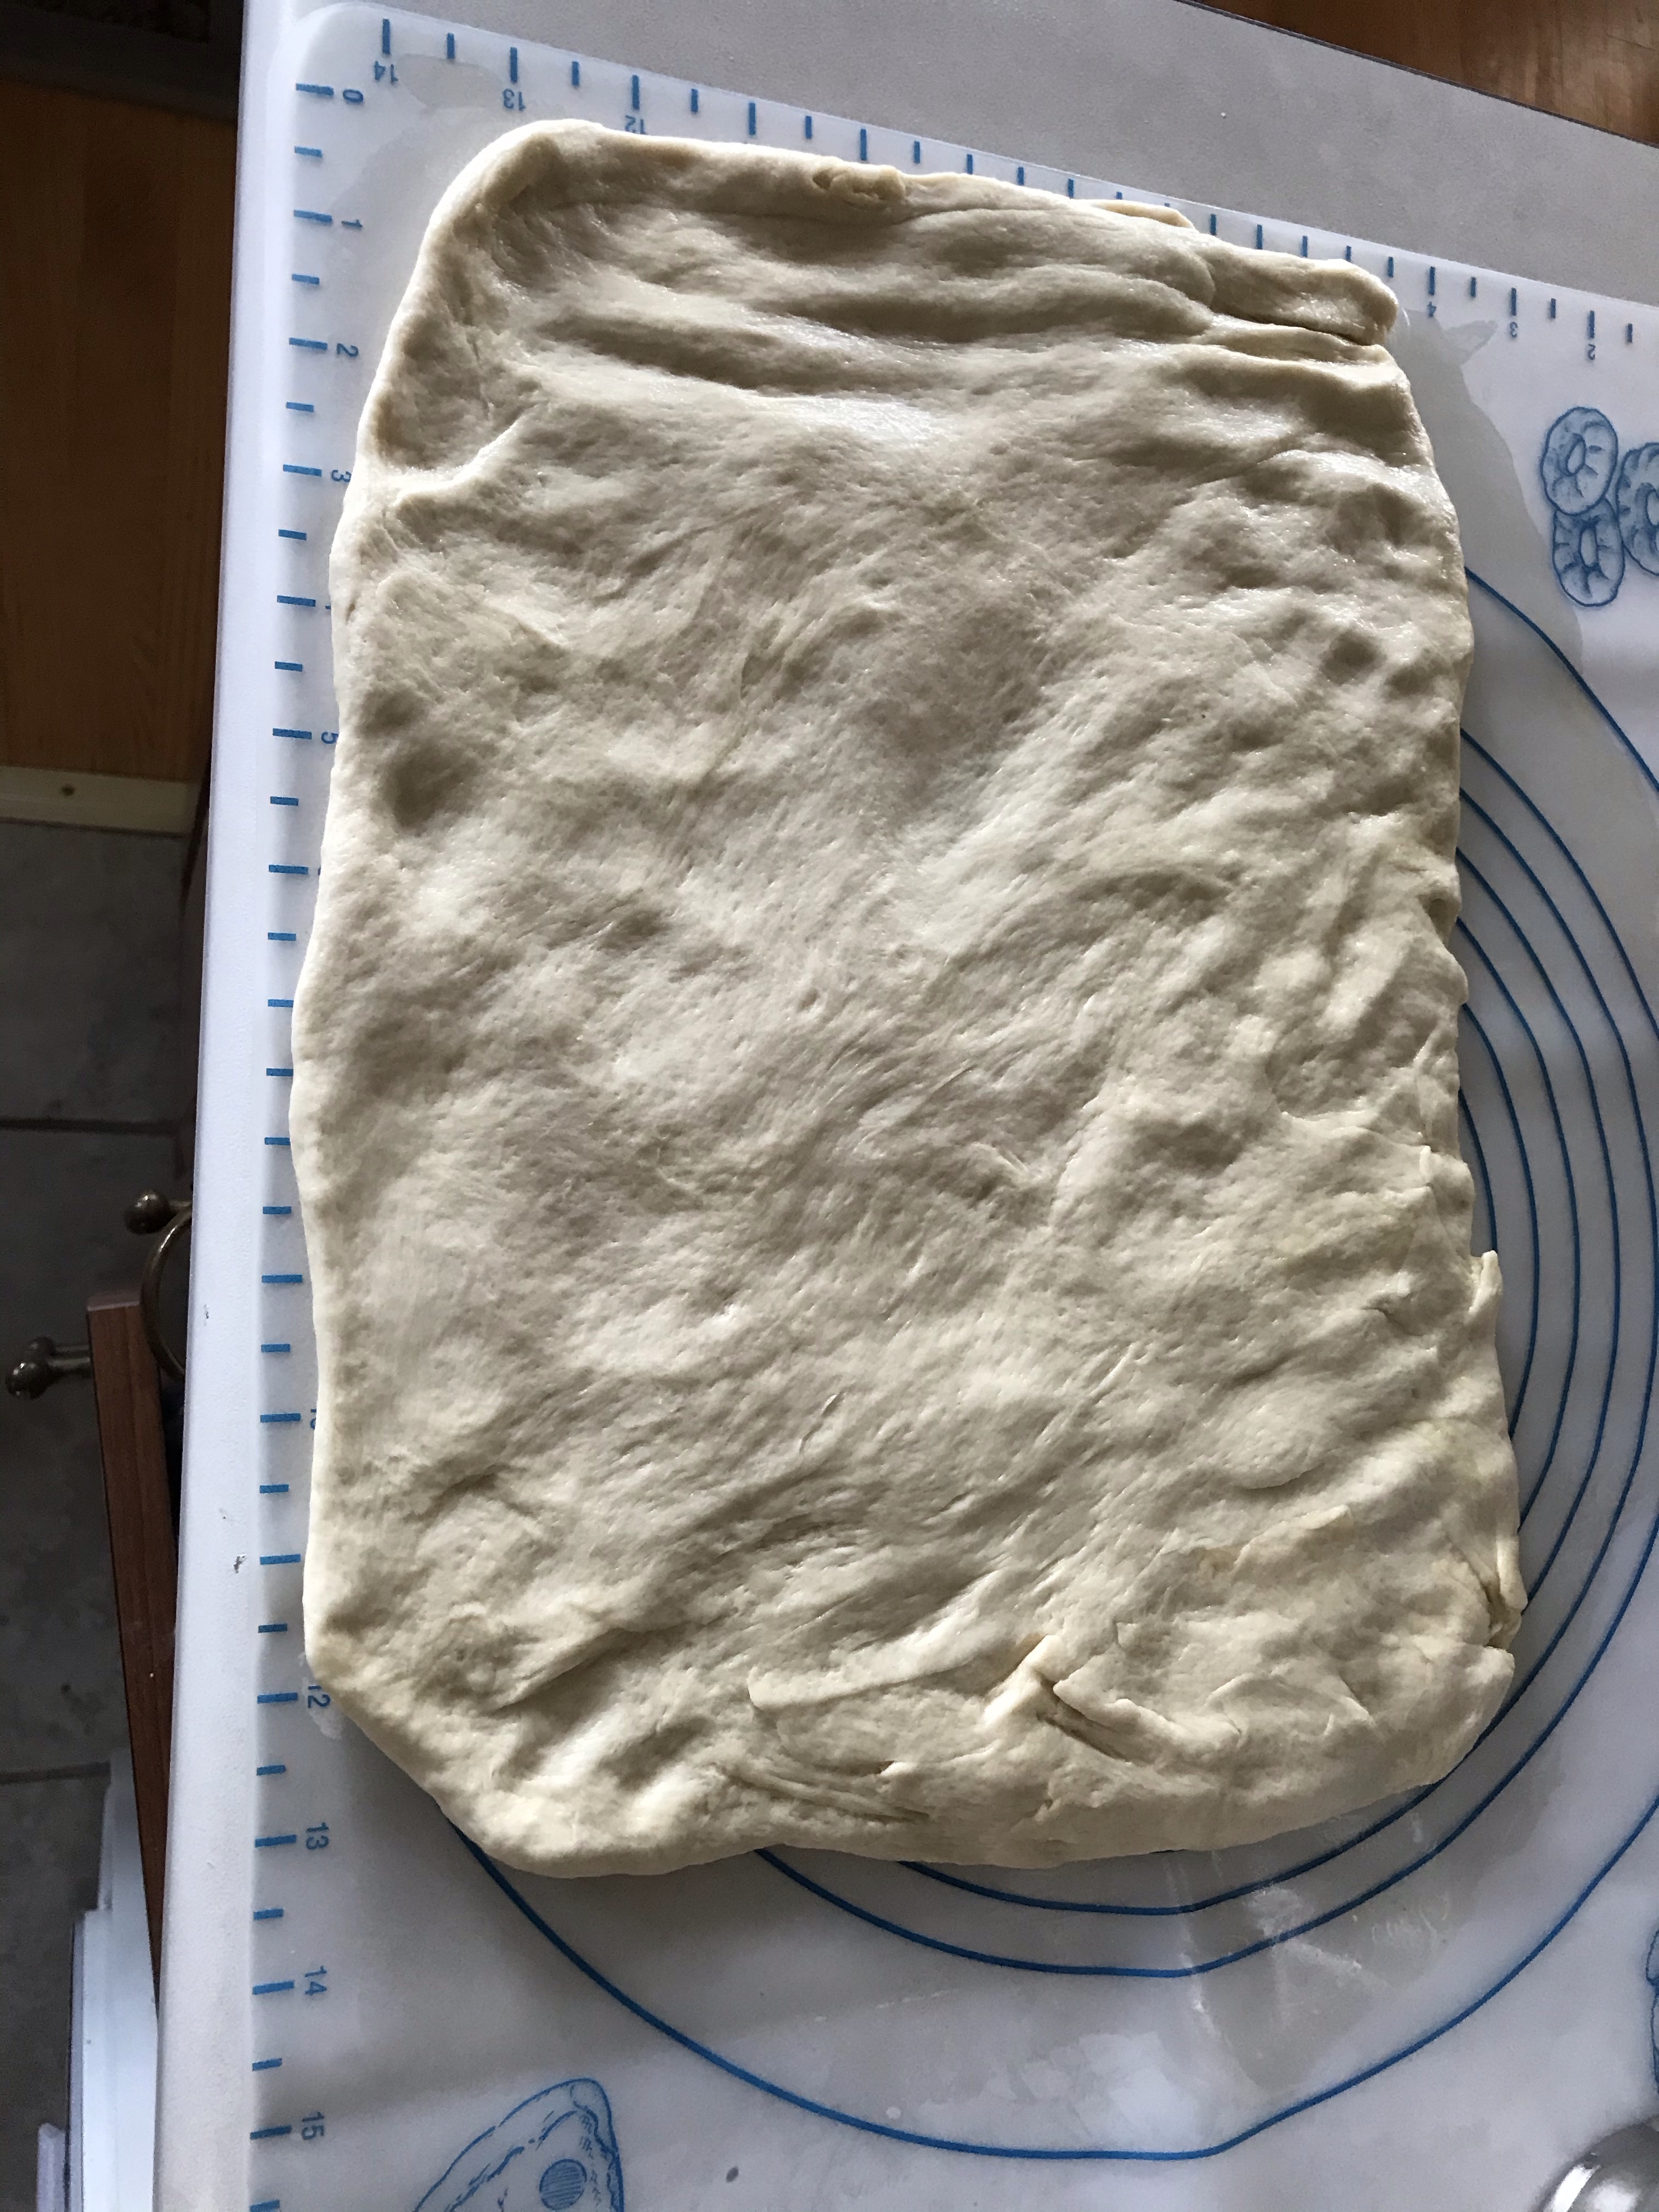 Beginning on one of the long ends, begin to tightly roll. Make sure as you are rolling the dough, to pull and roll tightly so there are no air pockets.

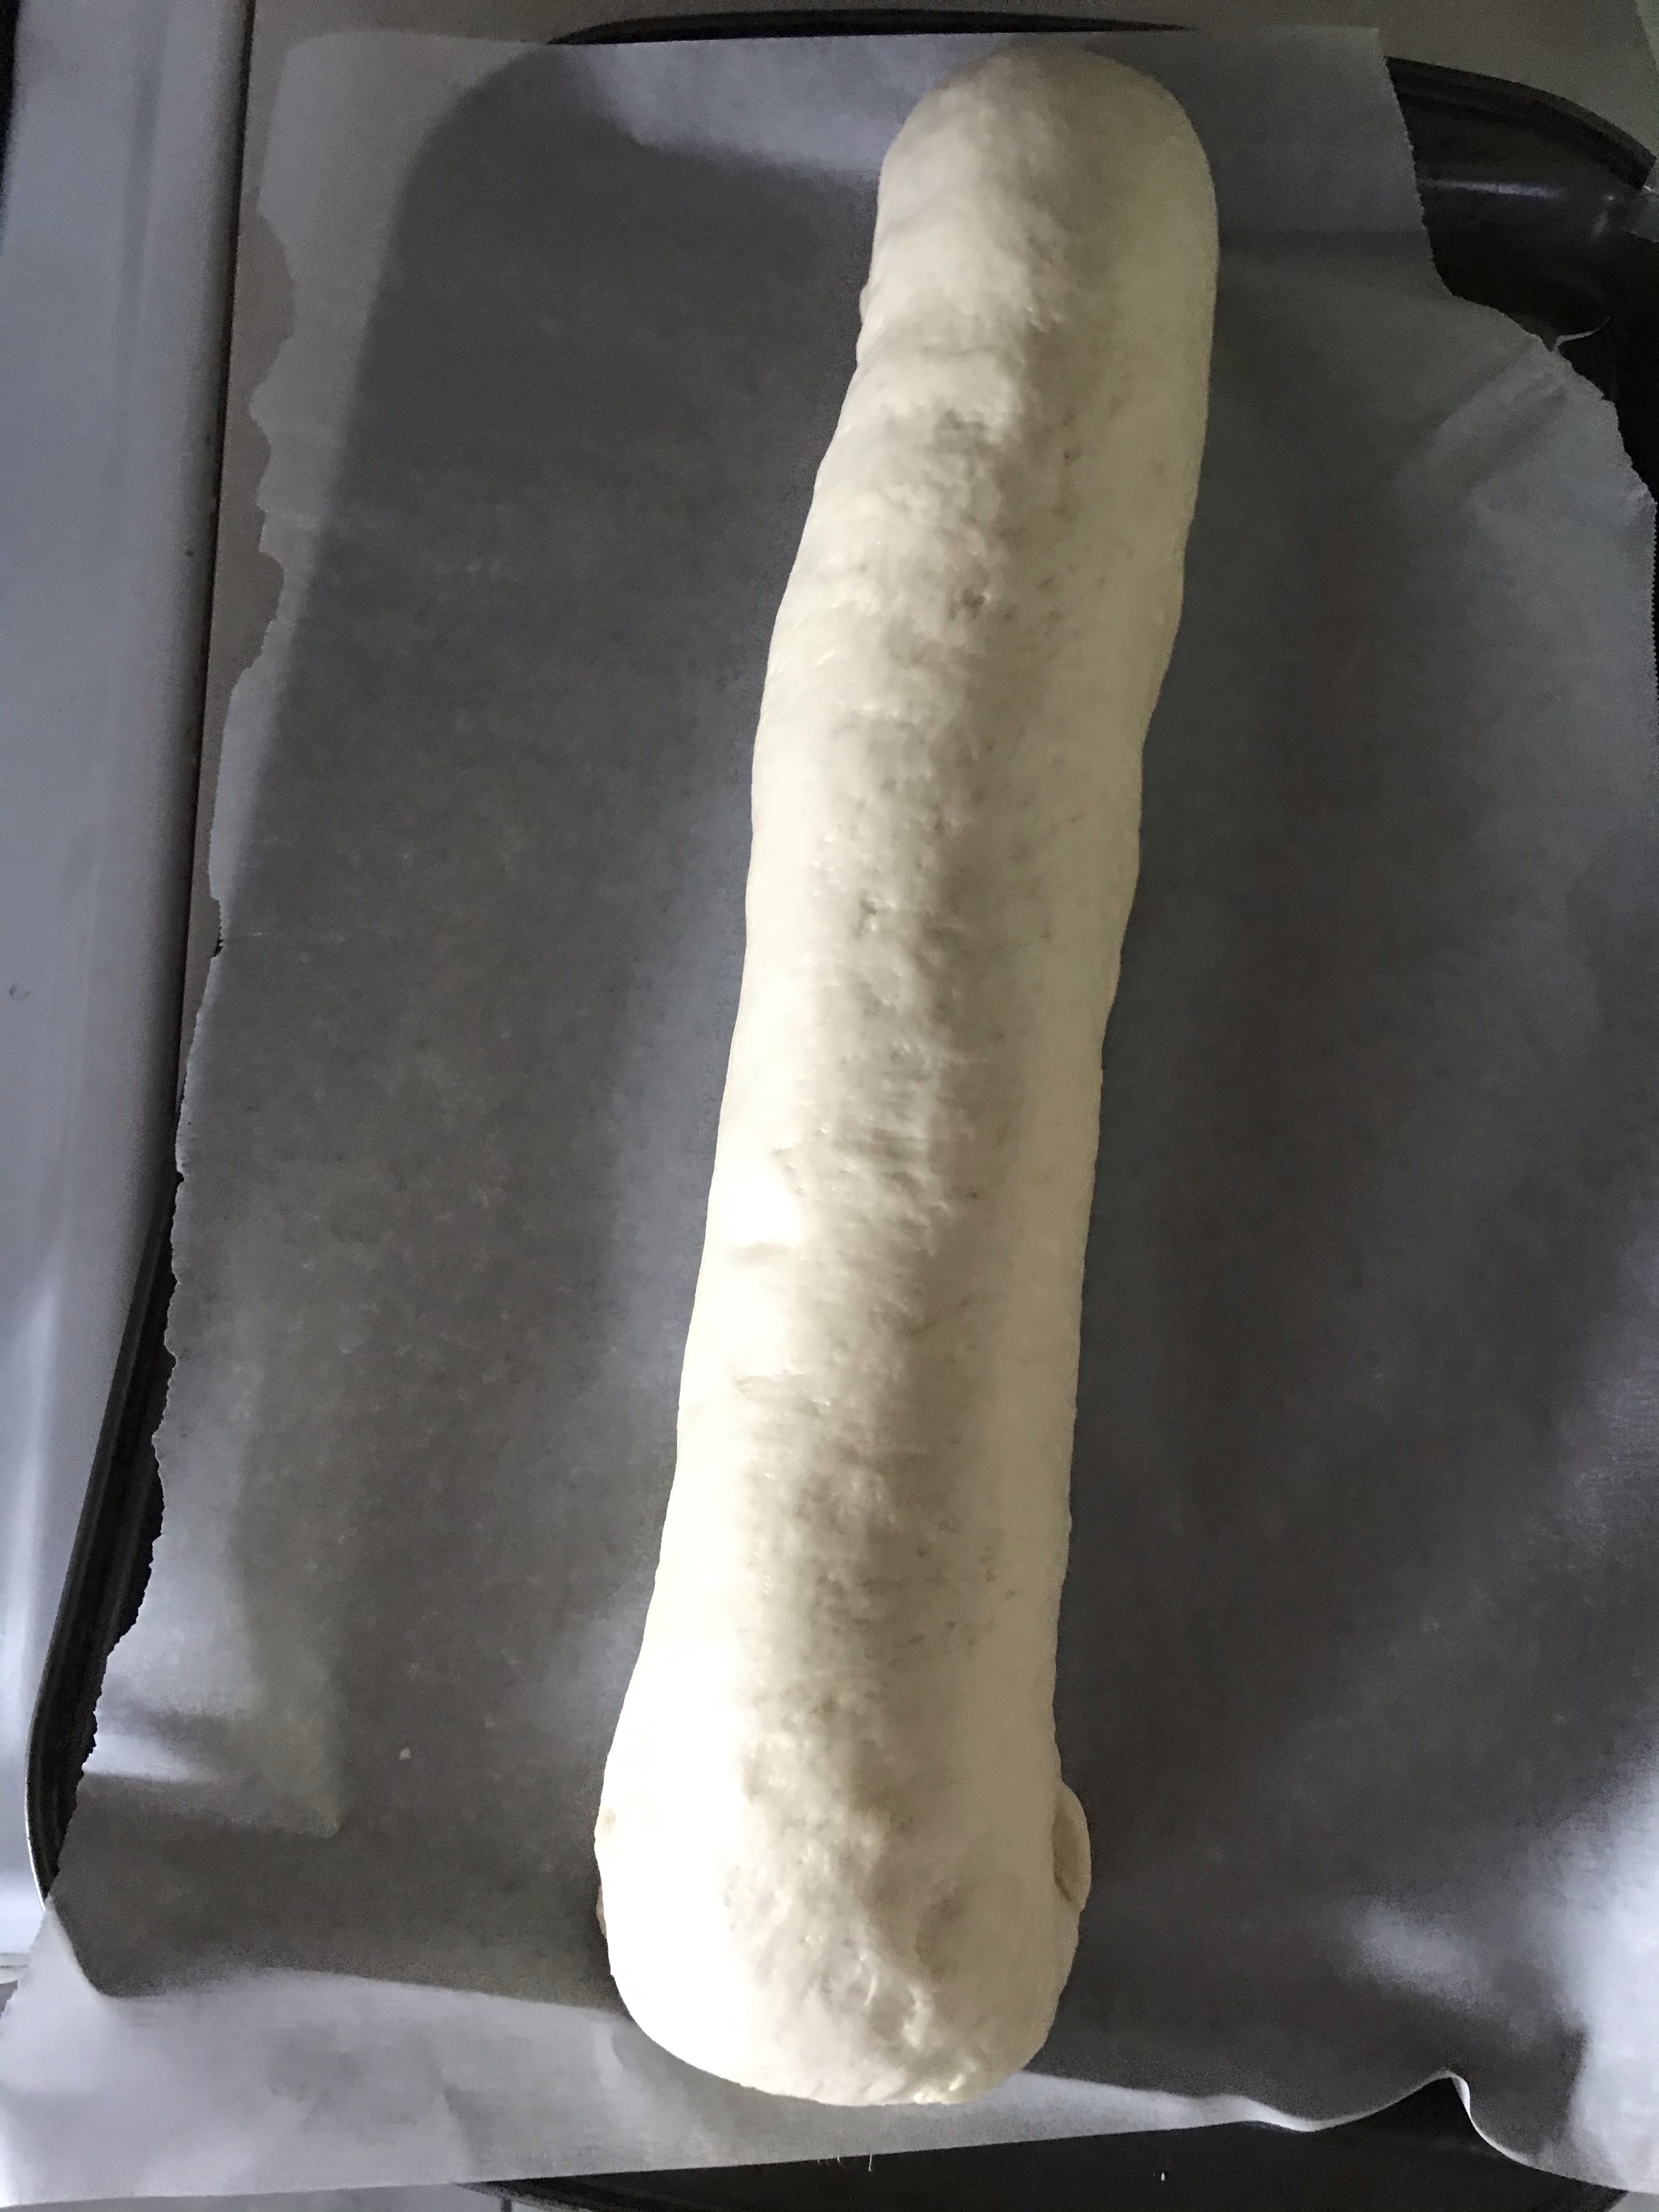
Air pockets will leave large holes in your bread and will bake unevenly. Pinch the seam together (this will be the bottom) and the ends, tucking these underneath. Set seam side down on a baking sheet covered in parchment paper. Repeat process with second ball of dough.
- Tip: Use 2 separate baking sheets so the loaves don’t end up sticking to each other.
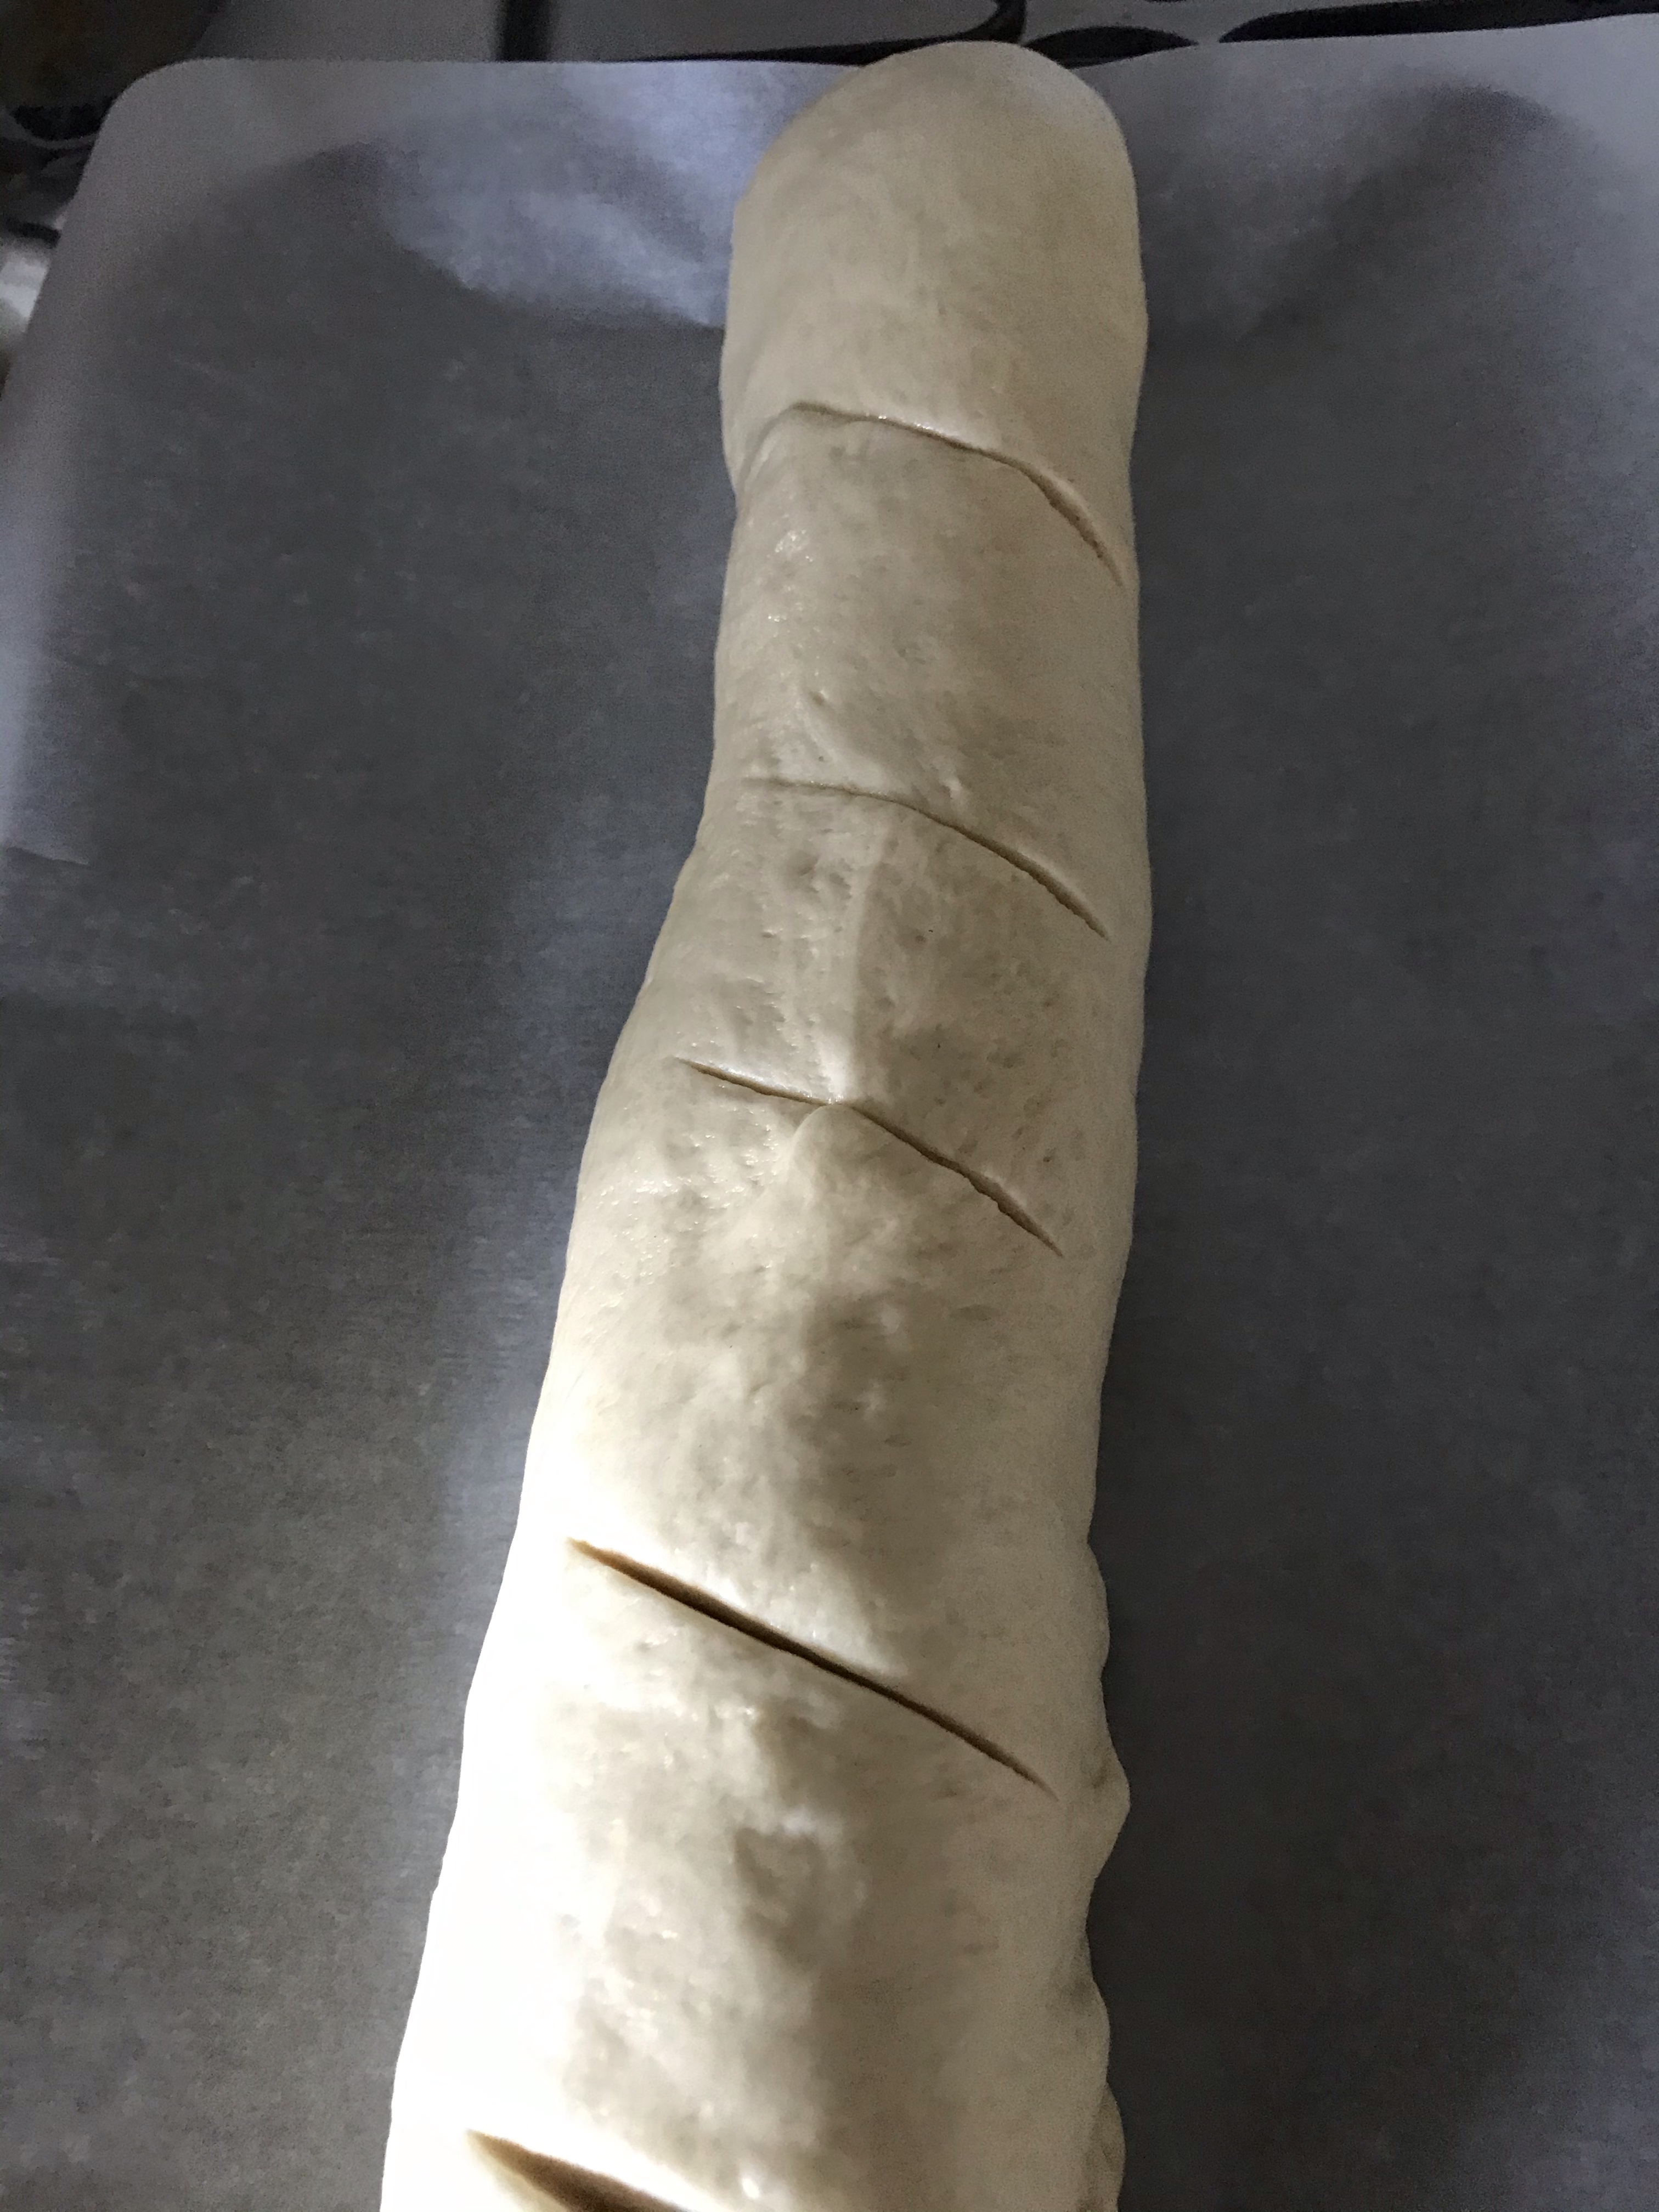
With a sharp knife cut short diagonal slices across the top (I do about 5). These slashes are a classic French bread touch. Make sure these are shallow (too deep and you’ll cut into the second layer of the roll and probably get a funky rise).
 Lightly cover the dough with plastic wrap and set in a warm place to rise for a second time. Dough should puff up and double in size. Again, depending on the temperature of your kitchen you it should take 45 minutes to an hour.
15 minutes before bread is ready to go in the oven, preheat it to 375 degrees. Because many French ovens are equipped with steam injection to obtain a beautiful crust, we’re going to put an all metal pan or cast iron skillet onto the lowest rack of the oven to heat. Once oven is preheated, place the cookie sheets with bread into the oven side by side (or one at a time if your oven is smaller). Throw a large handful of ice cubes or pour some water into the heated pan in the bottom of the oven and shut the door. Bake for 20-30 minutes or until golden brown. A trick to know if the bread is done in the middle is to turn it over and tap the bottom. It should sound hollow.

Allow a few minutes to cool before cutting loaves. Store in a sealed container for up to a week!
Happy Baking! Hope you all enjoy!
Kara